
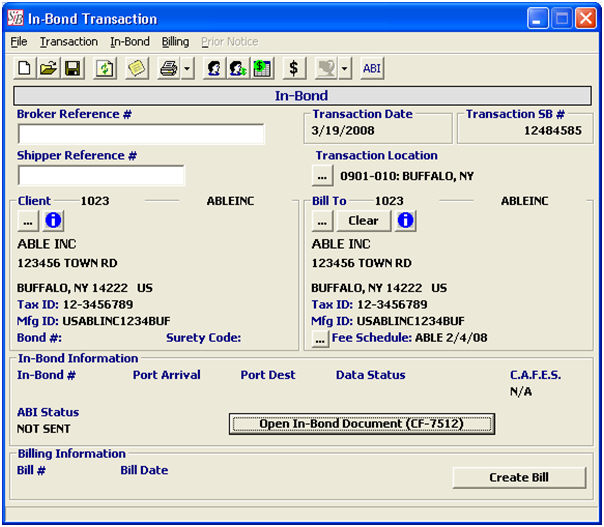
Click File, New to open a new In-Bond transaction:
|
Field/Button |
Status |
Description |
|
Broker Reference # |
Optional |
Enter the broker reference number. If you leave this field blank, it will default to the in-bond number upon saving the in-bond (CF-7512). |
|
Shipper Reference # |
Optional |
Enter the shipper’s reference number. This is the number that identifies the shipment for the client/shipper. |
|
Transaction Location |
Mandatory |
The location that the bond is being initiated. The branch office will default from the user profile. If you’d like to change this, click the ellipsis and choose the location from the pick-list. |
|
Client |
Mandatory |
Choose the customer for this in-bond transaction. Click the ellipsis and choose the client from the pick-list. You can view the client’s profile by clicking the information button, after choosing the client. |
|
Bill To |
Optional |
Choose the bill-to party for this in-bond transaction. Click on the ellipsis to choose the bill-to party from the pick-list. You can view this party’s profile by clicking the information button, after choosing the bill-to party. |
|
Fee Schedule |
Optional |
This is the fee schedule to use, when billing for this bond. The fee schedule for the bill-to party will default, after you choose the bill-to party. Click the ellipsis to choose the fee schedule from the pick-list. |
|
Open Bill |
Button |
Click to prepare the bill for this in-bond transaction. This can also be done after the bond is completed. See the Billing section of this manual for more details. |
|
Open In-Bond Document |
Button |
Once you’ve completed this in-bond transaction screen, click this button to open the In-Bond CF-7512 screen. This will auto-save your transaction. |
Once you’ve clicked Open In-Bond Document, you will receive the following prompt:
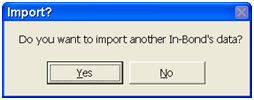
Click Yes to import information from a previous in-bond. Click No to start from scratch.
This feature allows you to copy data from another bond transaction, which can help to reduce the time spent preparing these bonds for recurring transactions.
To import another in-bond’s data, you will enter either the CNI # or the in-bond number. You can also do a grid search, if this information is not available.
Now that you've created your In-bond transaction, you must complete the In-Bond Main Screen.